「Androidスマホでは、どのメモ用アプリが使いやすいのだろうか」と悩んでいませんか?
Androidスマホを使っているユーザーには、「Google Keep」というメモ用アプリがおすすめです。
Googleアカウントを同期させることにより、パソコンやタブレットといった他の端末とメモの内容を共有することができるうえ、Androidスマホでの使い勝手が抜群なメモ用アプリだからです。
本記事では、Androidスマホに最適なメモ帳アプリ「Google Keep」について、使い方も含めてわかりやすく解説します。
Google Keepとは?


Google Keepは、Googleが提供しているメモ帳アプリです。
メモするだけでなく、リストを作成したり、画像を追加するなど幅広い用途に使えます。
Googleアカウントを同期するだけで、メモの内容を他の端末と共有できるなど、Androidスマホを使っているユーザーには最適のメモ帳アプリとなっています。
Google Keepの使い方
ここでは、Google Keepの主な使い方についてくわしく解説します。
メモを取る方法
まずは基本中の基本である、メモを取る方法からです。
メモを取るには、
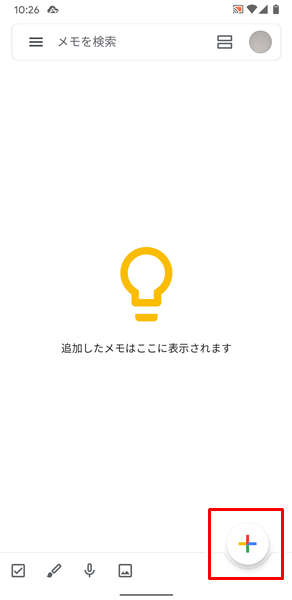
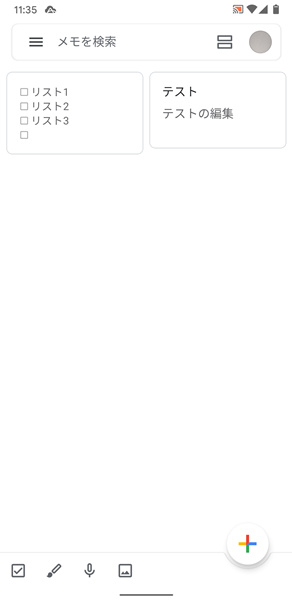
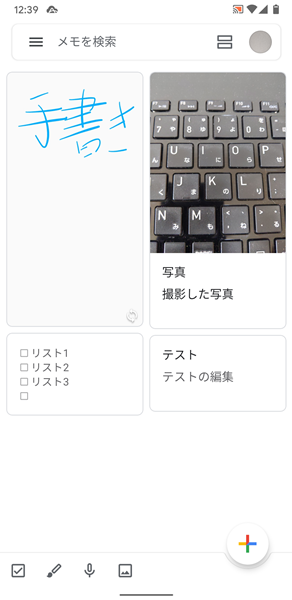
「Google Keep」を開き、画面右下にある「+」をタップします。
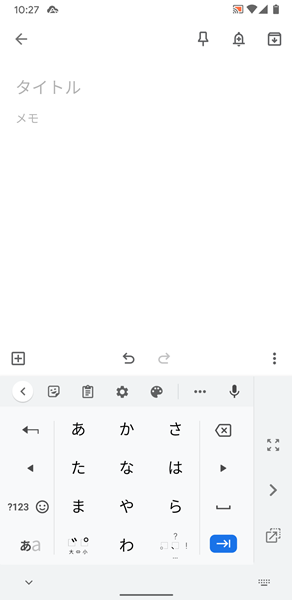
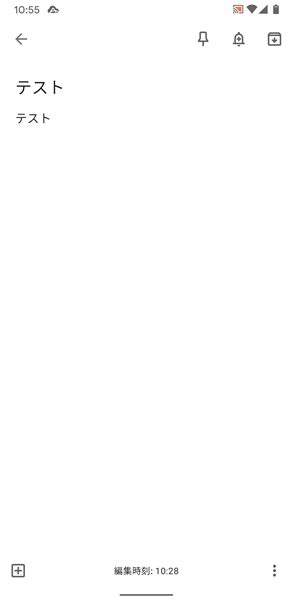
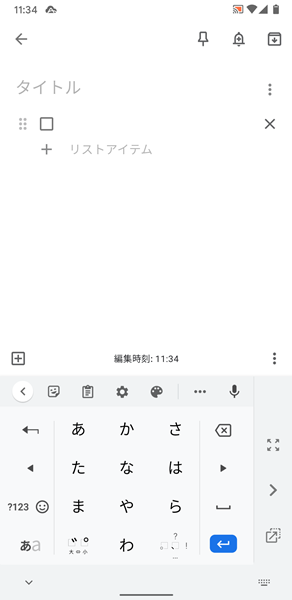
「メモが取れる」画面が表示されるので、「タイトル」と「メモ」を入力しましょう。
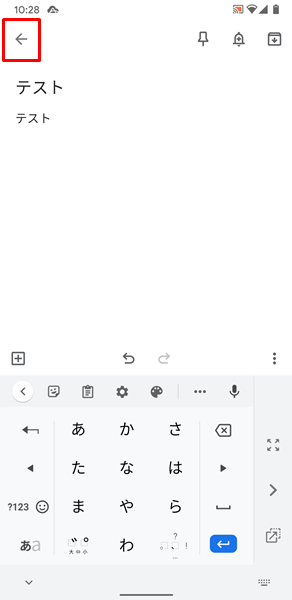
「タイトル」と「メモ」を入力し終わったら、画面左上の「←」をタップします。

これで、メモの入力が完了です。
メモの内容を編集する方法
次に、一度メモした内容を編集してみましょう。
メモの内容を編集するには、
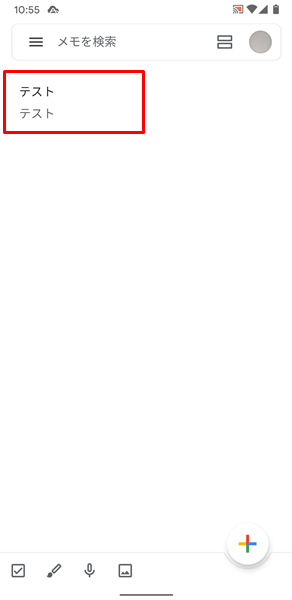
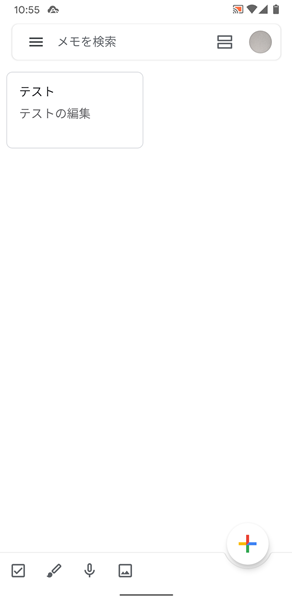
「Google Keep」を開き、「内容を編集したいメモ」をタップします。
メモの内容を編集します。
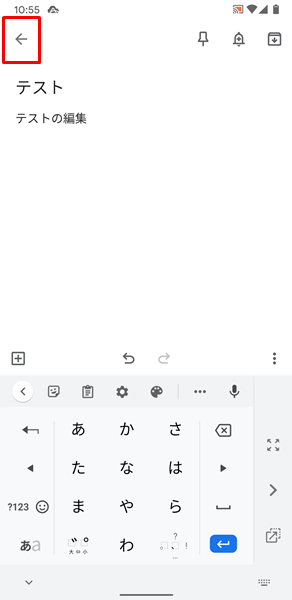
メモの内容を編集し終わったら、画面左上の「←」をタップします。
これでメモの内容の編集が完了です。
リストを作成する方法
メモ以外にも、リストを作成することができます。
リストを作成するには、
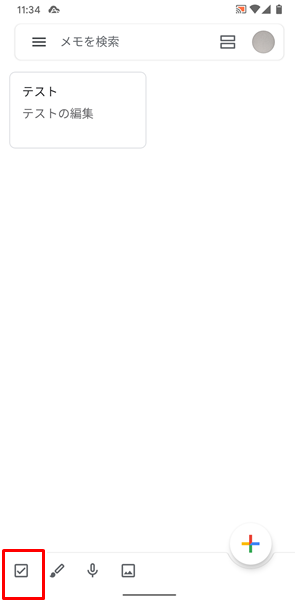
「Google Keep」を開き、画面左下の「四角の枠に囲まれたレ点」をタップします。
「リストを作成できる」画面が表示されるので、リストを作成しましょう。
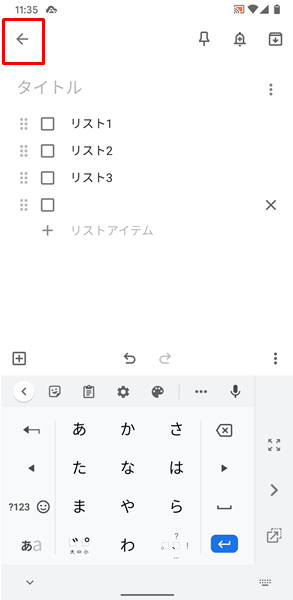
リストを作成し終わったら、「←」をタップします。
これで、リストの作成が完了です。
メモに撮影した写真を追加する方法
メモには、撮影した写真を追加することもできます。
メモに撮影した写真を追加するには、
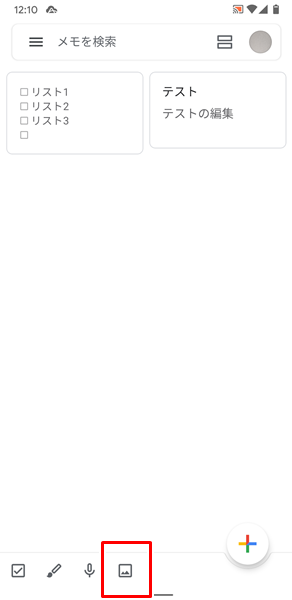
「Google Keep」を開き、画面下部にある「画像」をタップします。
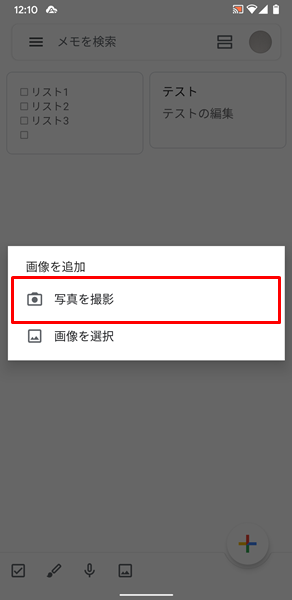
「画像を追加」という「メニュー」が表示されるので、「写真を撮影」をタップします。
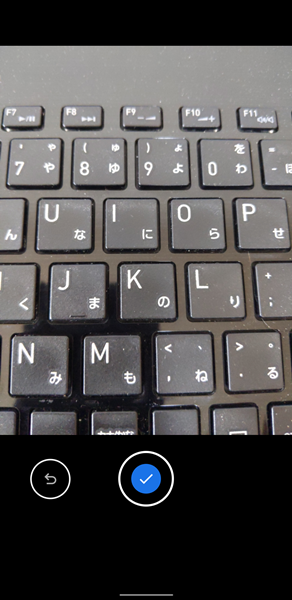
カメラが起動するので、写真を撮ります。
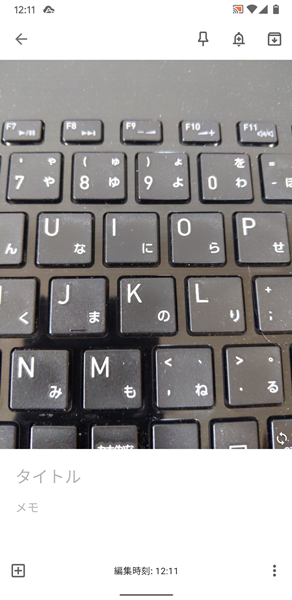
写真を撮ったら、「タイトル」と「メモ」を入力します。
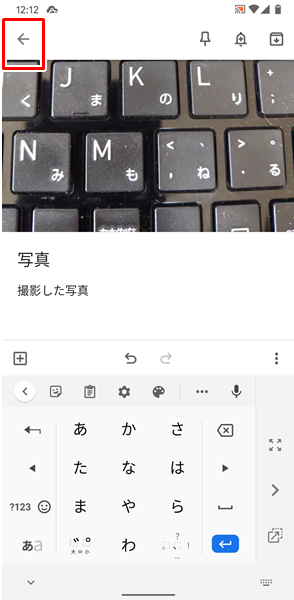
「タイトル」と「メモ」を入力し終わったら、画面左上の「←」をタップします。
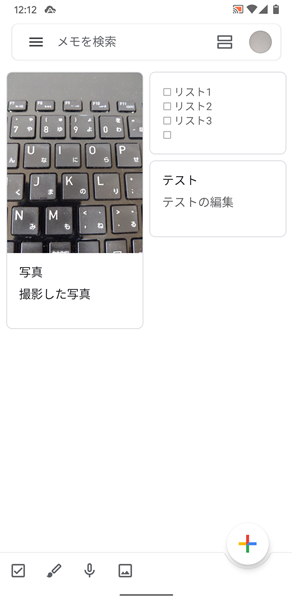
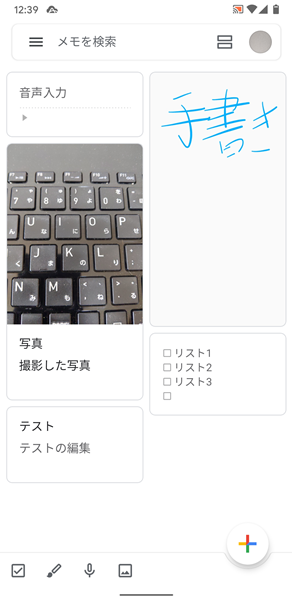
これで、メモに撮影した写真が追加されました。
メモやリストを削除する方法
作成したメモやリストは、不要になれば、削除することができます。
メモやリストを削除するには、
「削除したいメモやリスト」をタップします。
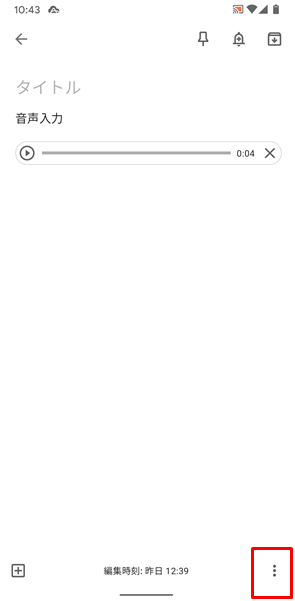
「削除したいメモやリスト」が表示されるので、画面右下にある「メニュー」をタップします。
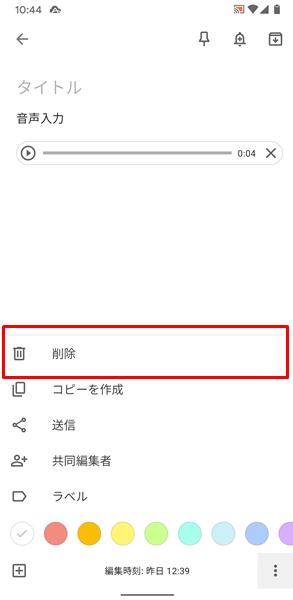
「メニュー」が表示されるので、「削除」をタップします。
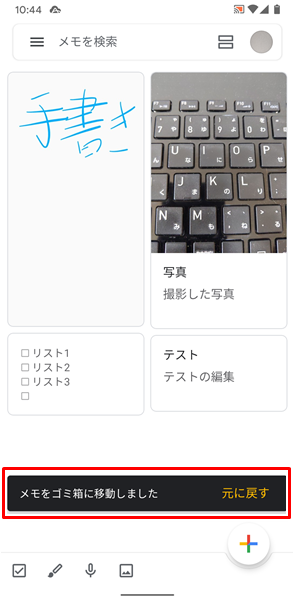
これで、削除が完了です。
Google Keepでは手書きや音声でメモを取ることもできる
Google Keepでは、仮想キーボードからの文字入力が苦手な人のために、手書きや音声でもメモを取れるようになっています。
手書きでメモを取る方法
手書きでメモを取るには、

「Google Keep」を開き、画面下部にある「筆」をタップします。
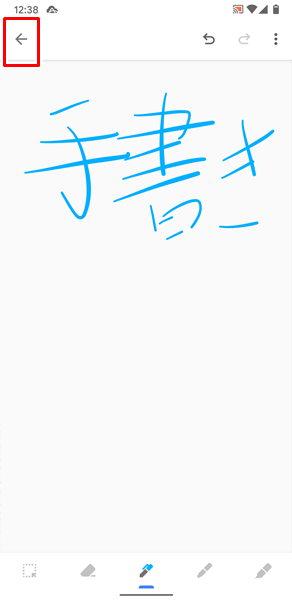
「手書きでメモが取れる」画面が表示されるので、手書きでメモを取ります。(Androidスマホの液晶画面に指を直接当てて、手書きすることができます)
手書きでメモを取り終わったら、画面左上の「←」をタップします。
これで、手書きのメモ入力が完了です。
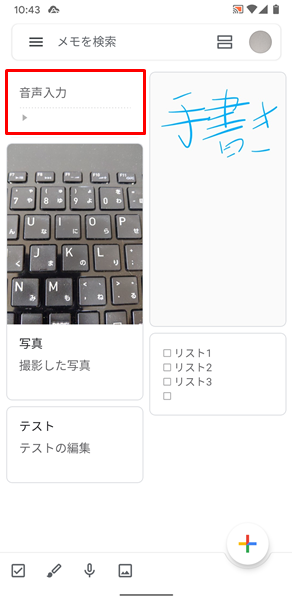
音声でメモを取る方法
音声でメモを取るには、
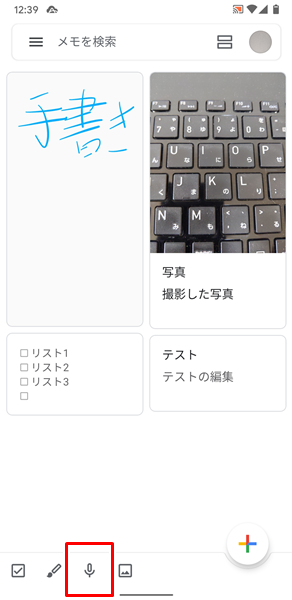
「Google Keep」を開き、画面下部にある「マイク」をタップします。
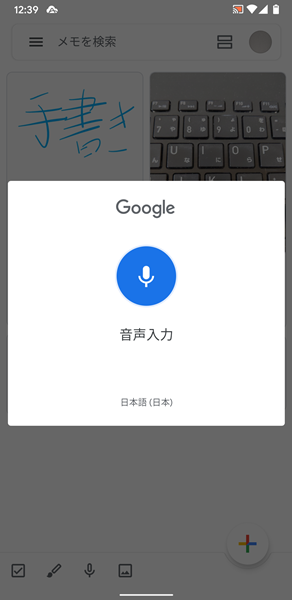
音声入力ができるようになるので、声を出して音声で入力します。
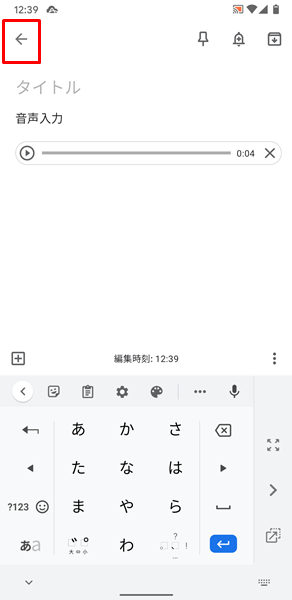
音声入力が終わったら、画面左上の「←」をタップします。
これで、音声によるメモ入力が完了です。
Google Keepを使う場合の注意点
Google Keepアプリは、Android5.0 以降に対応しています。
AndroidスマホのOSのバージョンが5.0 よりも古い場合は、最新のバージョンにアップデートしてください。
AndroidスマホのOSを最新のバージョンへアップデートさせるやり方がわからないという場合は、こちらの記事を参考にしてください。
Androidスマホのスペック的な問題でOSをアップデートすることができない場合は、こちらの記事を参考にしてください。
また、Google Keepアプリは、できるだけ最新のバージョンに更新されている状態で使うようにしましょう。
アプリを最新のバージョンに更新する方法がわからないという場合は、こちらの記事を参考にしてください。
まとめ
この記事では、Androidスマホに最適なメモ帳アプリ「Google Keep」について、使い方も含めてくわしく解説してみました。
Androidスマホでは、「Evernote」や「OneNote」といった使いやすいメモ帳アプリが数多くありますが、Googleアカウントと紐付けできる「Google Keep」がイチオシです。
ぜひこの記事を参考にして、「Google Keep」をメモ帳として、活用してみてください。
当ブログではAndroidスマホの使い方に困っている人のために、他にも数多くの記事を投稿しています。
よかったら参考にしてください。
最後までお読みいただきありがとうございました。
関連記事
参考
※この記事で解説した内容は、Androidのバージョンや機種によって異なる場合があるので注意してください。
※この記事で解説した内容は、更新した時点(20235年12月11日)のものになります。